You’re here because you want a clean first run, not a box of “almost” cards that you now have to squint at in sleeves. Fair. This is the how to upload a decklist for mtg proxy printing walkthrough that assumes you’re a normal person with a life, not a print technician who enjoys arguing with file settings.
Step 0: confirm you can actually use proxies where you play
Ask the store, organizer, or pod. Do not skip this step and then act surprised when someone says no. Proxies are usually fine in casual Commander, cube nights, kitchen table games, and testing. Sanctioned events are a different story.
Step 1: pick the proxyfoundry writing guiderder
Your first proxy order should be one of these:
- **A fProxyFoundry Content Plano test before buying real copies
- A reusable staples pool (fetches, shocks, fast mana, whatever your group tolerates)
- A cube chunk (or the whole thing, if you’re brave and organized)
If you’re building a cube and you’re still deciding size, this will save you from printing 200 cards you don’t end up using: Perfect MTG Cube Size: 360 vs 450 vs 540 vs 720.
Step 2: export your decklist in a boring, standard format
For how to upload a decklist for mtg proxy printing, the biggest win is making your list machine-readable.
Use a simple list like:
4 Lightning Bolt1 Sol Ring1 The One Ring
Avoid:
- Fancy headers
- Extra commentary
- “Sideboard:” lines unless your printer expects them
- Weird separators that look like modern art
Before you upload:
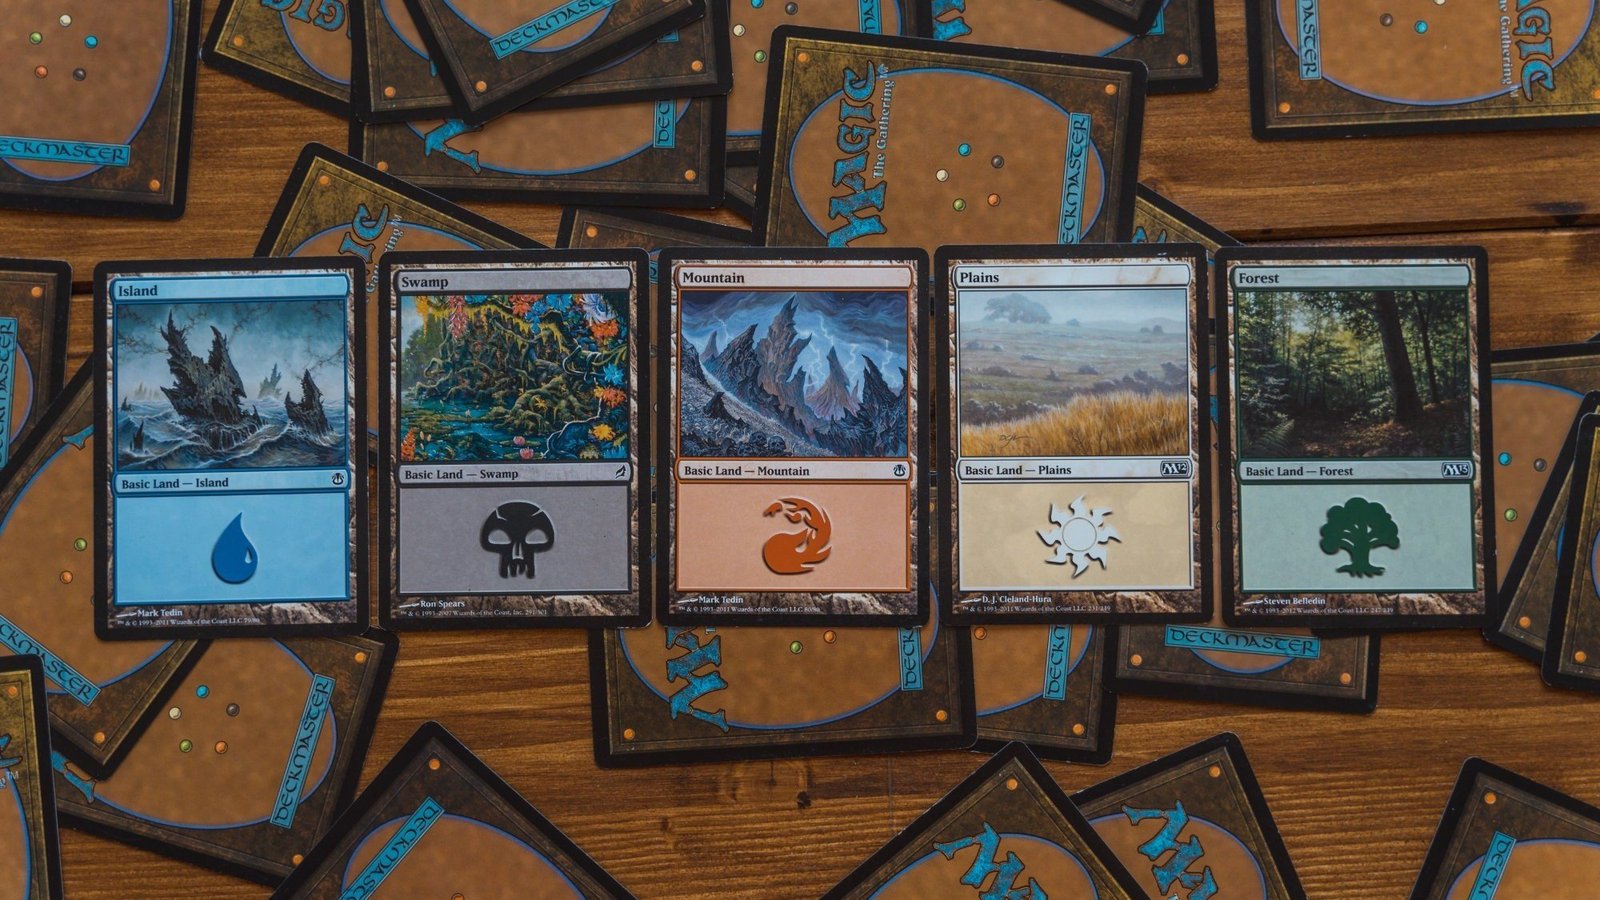
- Confirm counts add up (100 for Commander, 60 for most Constructed, your cube size target)
- Confirm basic lands are included if you want them printed
- Confirm tokens and double-faced cards are handled the way you expect
Step 3: choose your sourcing workflow
You typically have three paths:
A) Decklist-to-door workflow (simplest)
You upload the list, the service produces proofs/previews, you approve, they print and ship.
This is the easiest first order because the system is built around beginners not tripping over the same three rakes.
B) Self-service printing workflow (more control, more responsibility)
You’re responsible for images, layout, bleed, safe zones, and file naming that doesn’t make the upload tool cry.
If you choose this path, you need basic print-ready sanity:
- 300 DPI at final size
- Proper bleed and safe zone
- No critical text near the cut line
C) “I just need a few cards” workflow (storefront sellers)
Great for small patches, not great for full decks unless you like expensive convenience.
Step 4: decide how your proxies should look (and how honest they should be)
This part is personal, but here’s what tends to work in real play:
- Readable rules text beats “coolest alt art” if you actually plan to play the deck.
- If your group cares about transparency, add clear labeling. It prevents drama and also prevents that one guy from getting ideas.
- Pick one visual style per deck (or per cube section) so it looks cohesive.
Step 5: pick cardstock and finish based on how you play
Sleeved Commander players can get away with more than unsleeved chaos gremlins.
General guidance:
- If you play sleeved, prioritize thickness and cut consistency.
- Matte or satin finishes tend to be easier to read under bright lights than high gloss.
- Black core or high-opacity stocks help prevent show-through.
If you want a practical breakdown (without turning this into a paper hobby), this internal guide is the fastest way to make a good choice: Best File Settings for Print-Ready MTG Proxies. (Yes, file settings matter. No, that’s not fun.)
Step 6: proofing and previewing (the step that saves your money)
This is where first-timers lose the most time and money because they skim.
When you get a proof/preview, check:
- Card names (spelling matters, especially for split cards and punctuation)
- Counts (you want 1x, not 11x)
- Versions (if you care about art, frame, or set symbol)
- Cropping and centering (borders shaving is real)
- Double-faced cards and tokens (are they included and oriented correctly?)
- Card back choice (especially for self-service printing)
If something looks off, fix it now. “Fix it later” is just future-you paying twice.
Step 7: shipping choices (and why “standard” is a trap when you have a deadline)
If you need cards by a specific date:
- Give yourself a buffer for production plus shipping
- Use tracked shipping
- Consider expedited options if available
If you do not need a hard deadline:
- Standard shipping is fine
- Just don’t order two days before game night and then blame the universe
Step 8: what to do when the cards arrive
Open the package like you’re doing quality control, not like you’re opening a Secret Lair.
Check:
- Count is correct
- Cuts are consistent (no obvious size differences that make a deck feel marked)
- Text is readable at table distance
- Colors are reasonable (minor screen-to-print shift is normal)
Then sleeve them and shuffle. If your deck handles like a normal deck, you did it right.
The “no guesswork” first order recommendation
If you’re ordering your first deck:
- Print one full deck
- Add a small staples pool you know you’ll reuse
- Add any tokens you always forget
That gets you value without turning the order into a project plan.
And yes, this is still the correct way to handle how to upload a decklist for mtg proxy printing without losing a weekend to formatting.